In any dynamic business environment, efficient customer support is crucial. Imagine a world where support tickets are created and tracked directly within your product, eliminating the hassle of switching between applications. That's precisely what the EDGERP Support Module offers a streamlined, efficient way to communicate with our support team and resolve issues faster. Let's dive into how you can set it up and use it effectively.
Getting Started: Configuring the API Connection
Before you can start creating and tracking support tickets, you'll need to establish a connection between your product and Edgerp centralized support portal. This is a one-time setup that ensures smooth communication.
1. Access the Configuration Section:
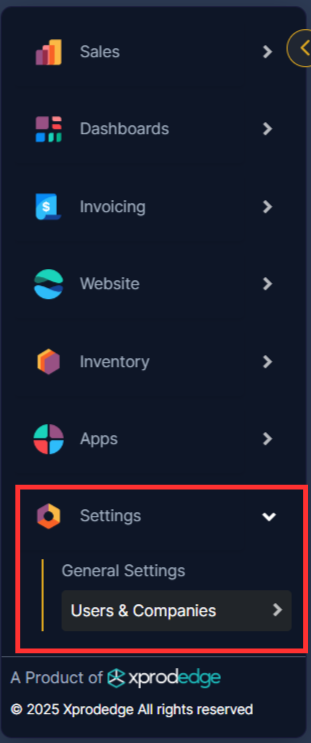
- Navigate to the Settings ‣ General Settings.
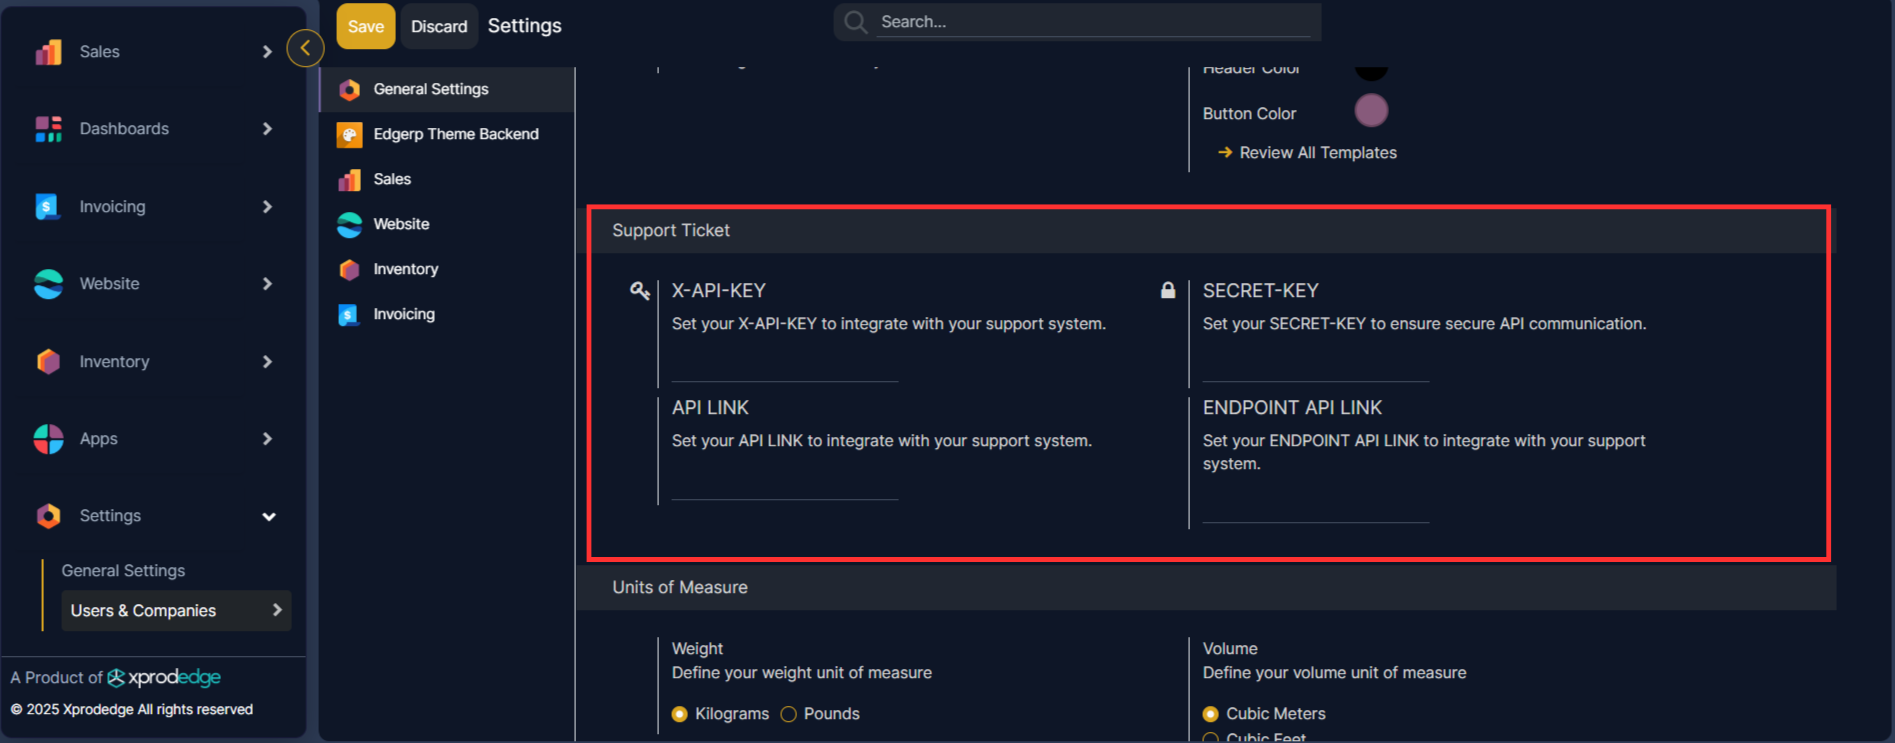
- Look for the "Support Ticket" section. This is where you'll input the necessary credentials.
- Why it matters: This section acts as the bridge between your product and our support portal.
2. Enter the API Credentials:
You'll need the following information, which will be provided by Edgerp.
- X-API-KEY: This is your unique authentication key.
- SECRET-KEY: This adds an extra layer of security to your API communication.
- API LINK: This is the URL used to create new support tickets.
- ENDPOINT API LINK: This is the URL used to view existing support tickets.
Pro Tip: Double-check these credentials! Incorrect entries will prevent the connection from working.
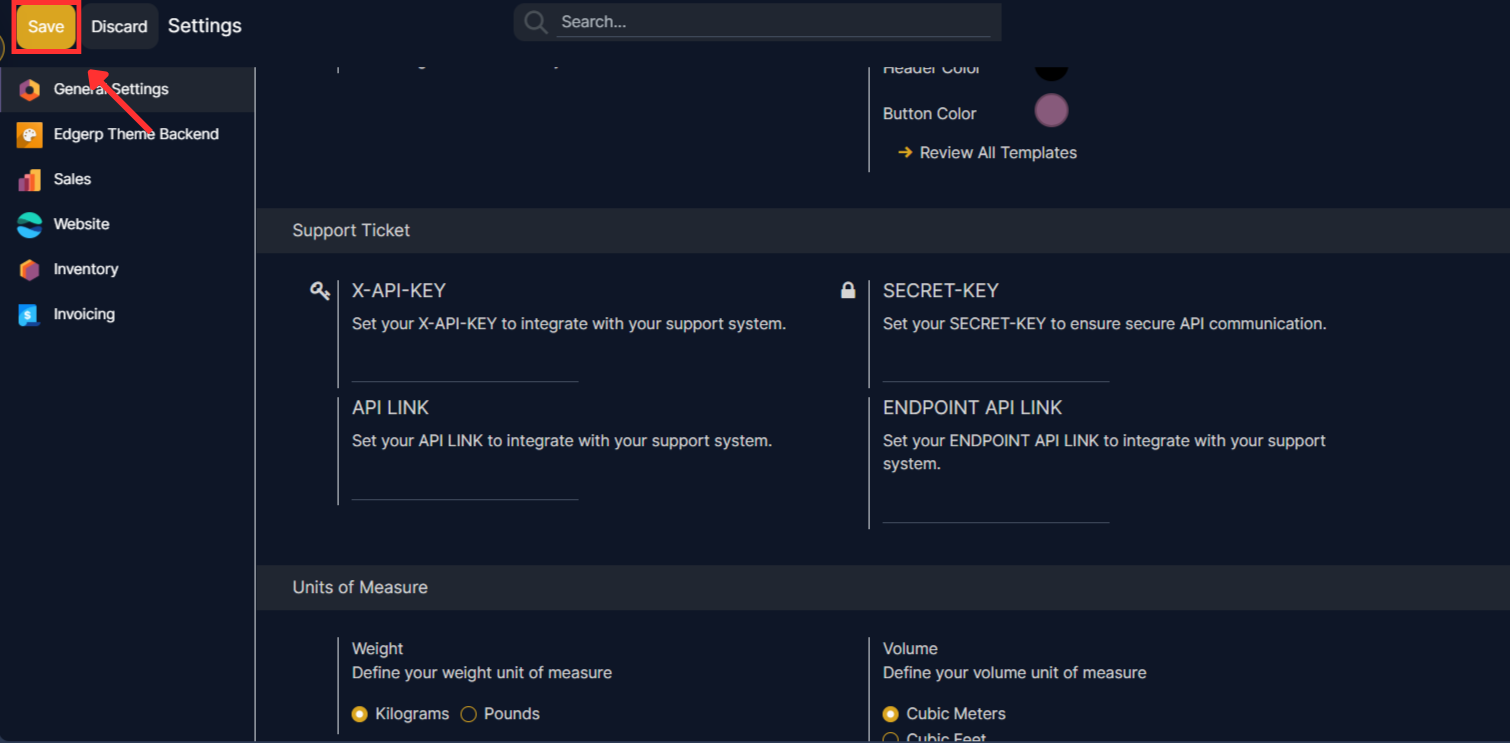
3. Save Your Configuration:
- Click the "Save" button to store your API settings.
- What happens next? Now your product will be able to communicate with our support portal.
Accessing the Support Tickets Module
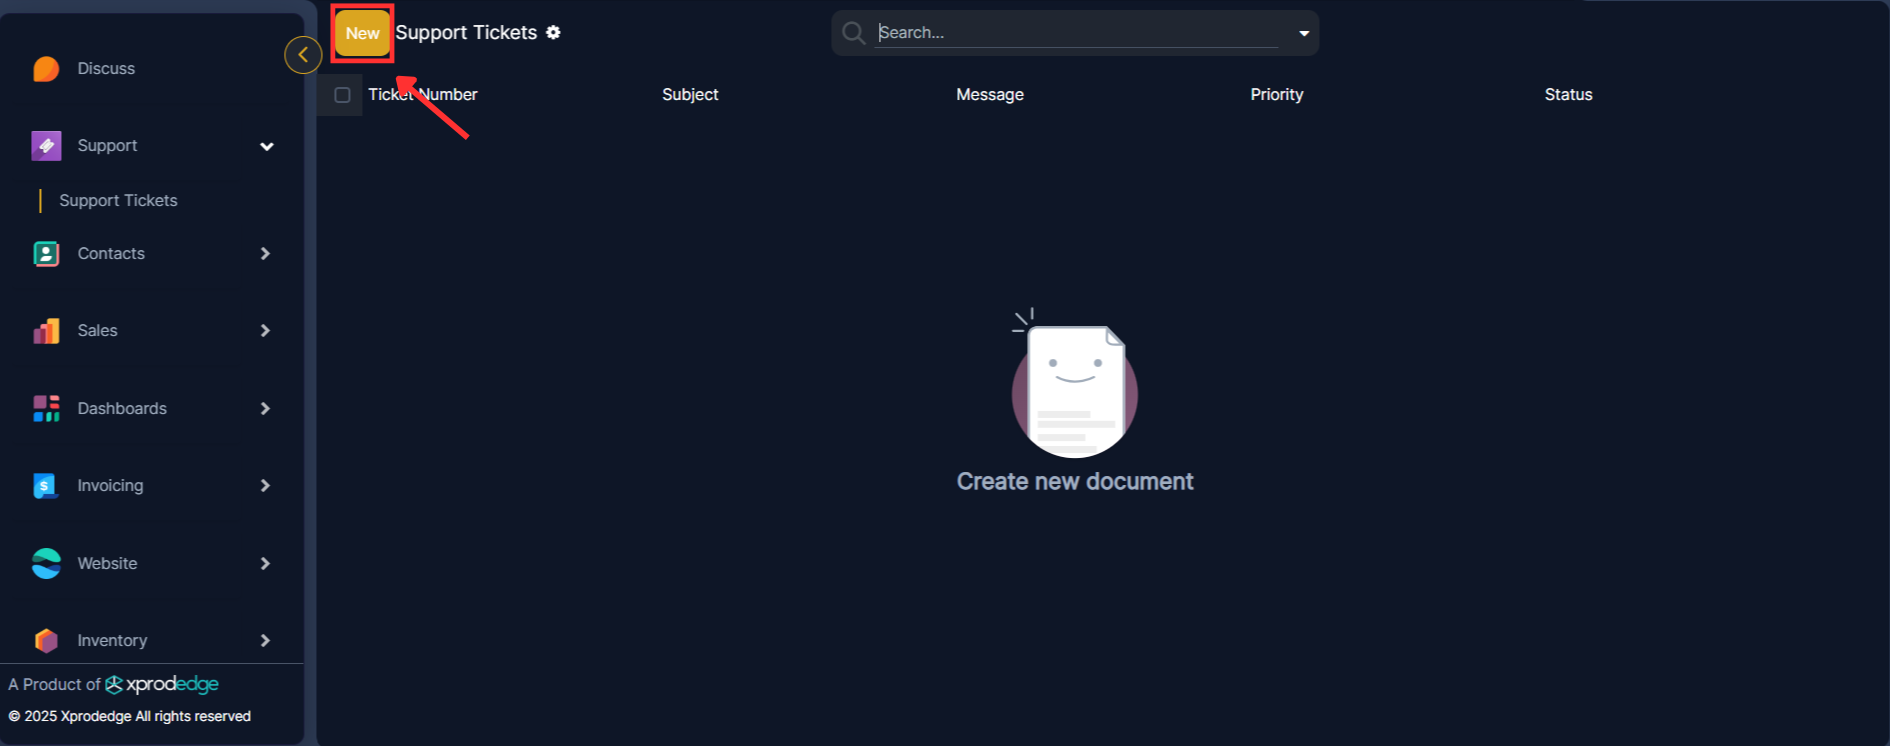
To access the Support Tickets module, navigate to the main EDGERP menu and you can see the Support module is there then click on the "Support Tickets".

Creating a New Support Ticket
To create a new support ticket, click the "New" button. This will open the support ticket creation form.
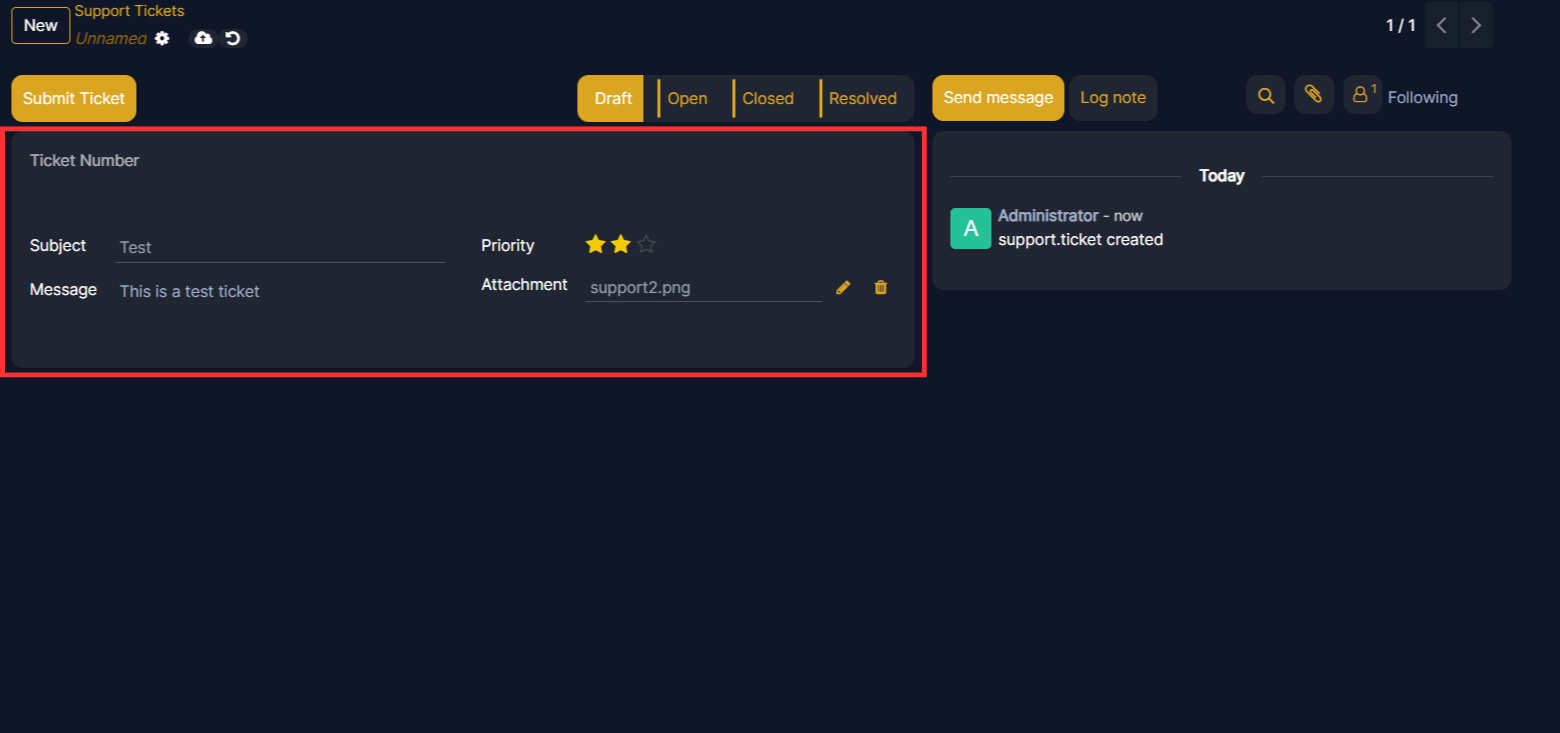
Fill in the required information:
- Subject: Enter a clear and concise subject for the support ticket.
- Message: Provide a detailed description of the issue.
- Priority: Select the appropriate priority level (Null, Low, Normal, or High).
- Attachment: Attach any relevant files to provide additional context.
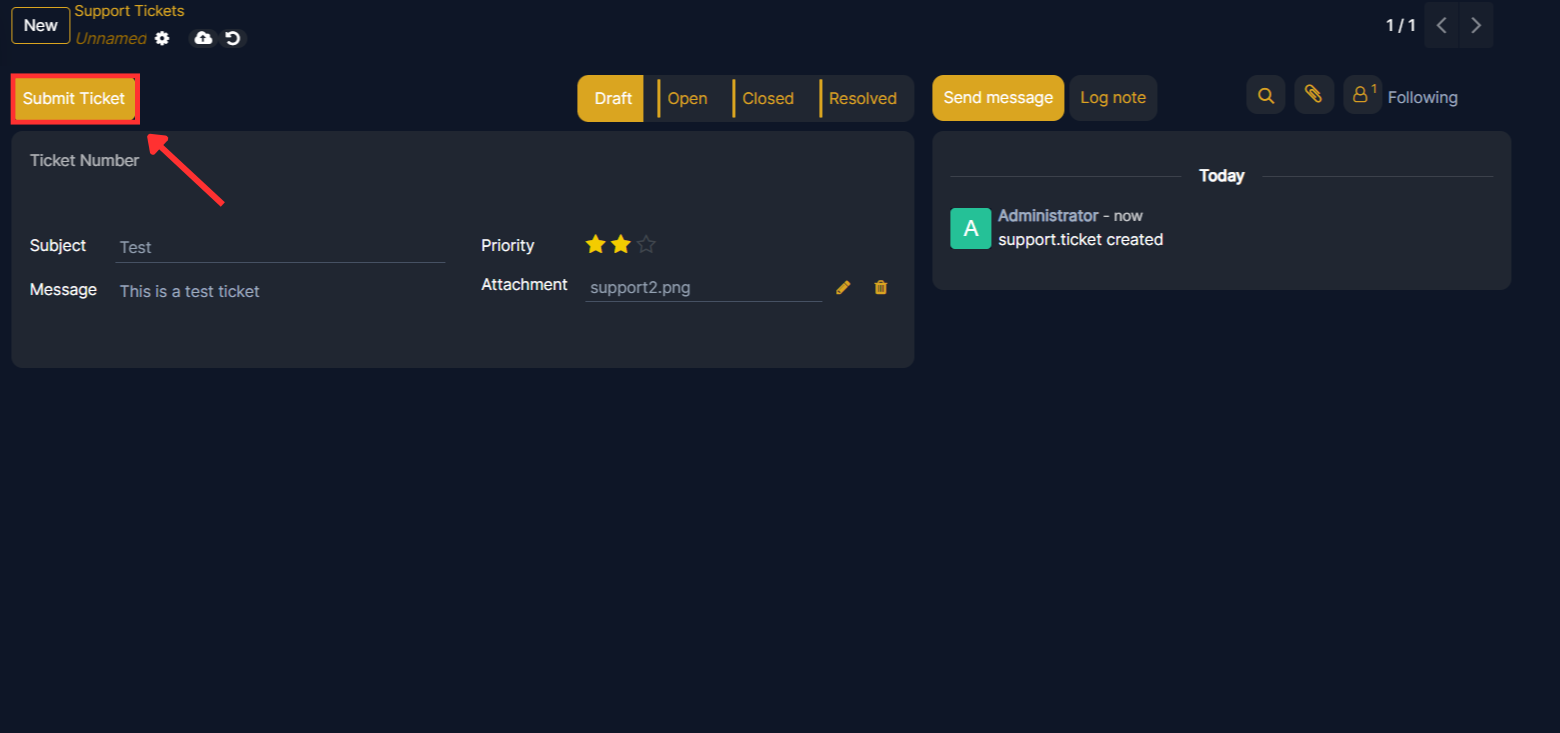
Submit Your Ticket
Once you have filled in the necessary information, click the "Submit Ticket" button. This will send the ticket to the external support system and generate a unique ticket number.
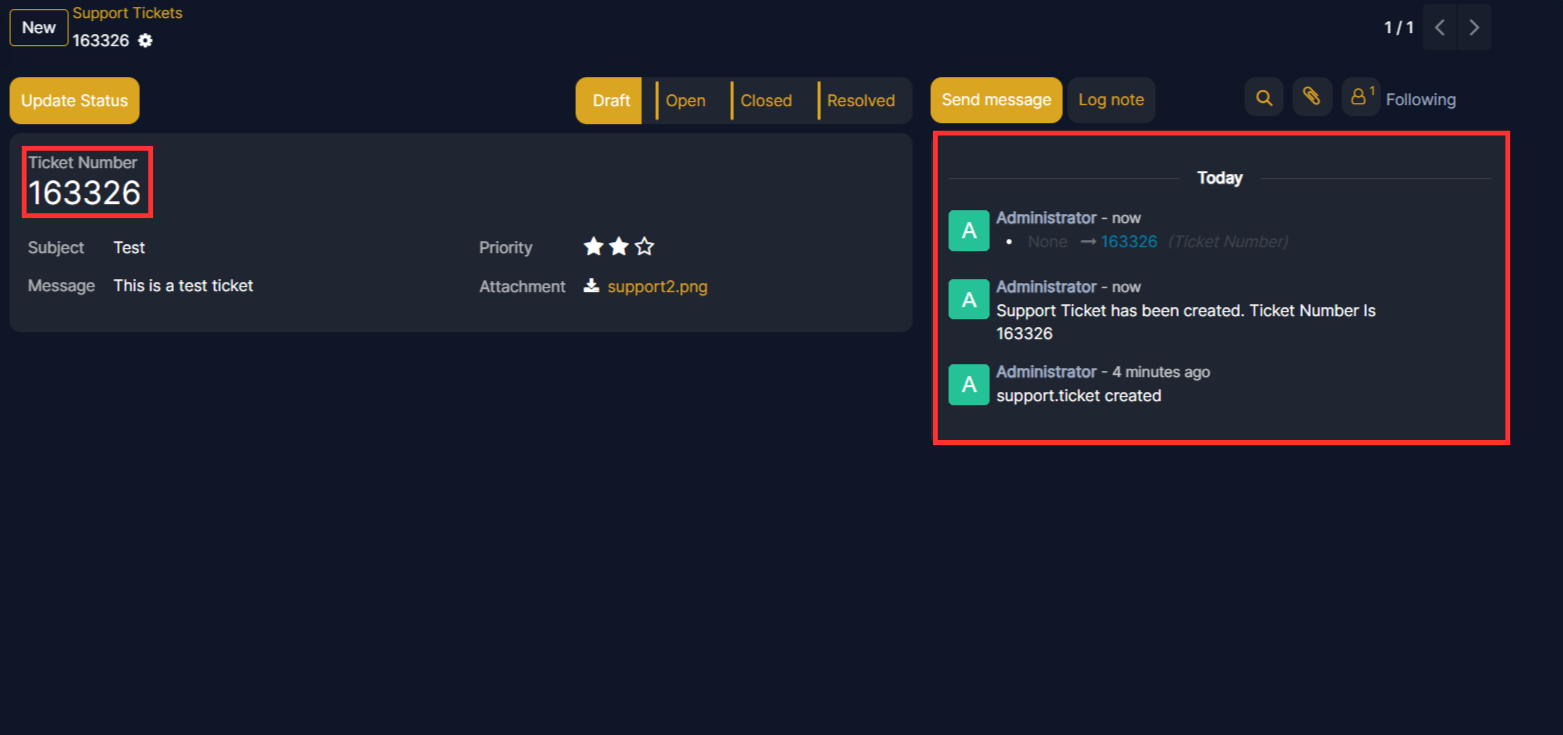
A unique ticket number will be automatically generated by the system and displayed, confirming your ticket has been successfully submitted. After submission, any communication related to the ticket, including updates from the support team or your own notes, will be recorded in the "Chatter" section at the page of the ticket form. The Chatter functionality allows you to easily track all conversations and updates in one place.
When you create a new ticket it will be in the "Draft" state. If you want to change the status of your ticket then you have to click on the "Update Status" button on the top left corner.
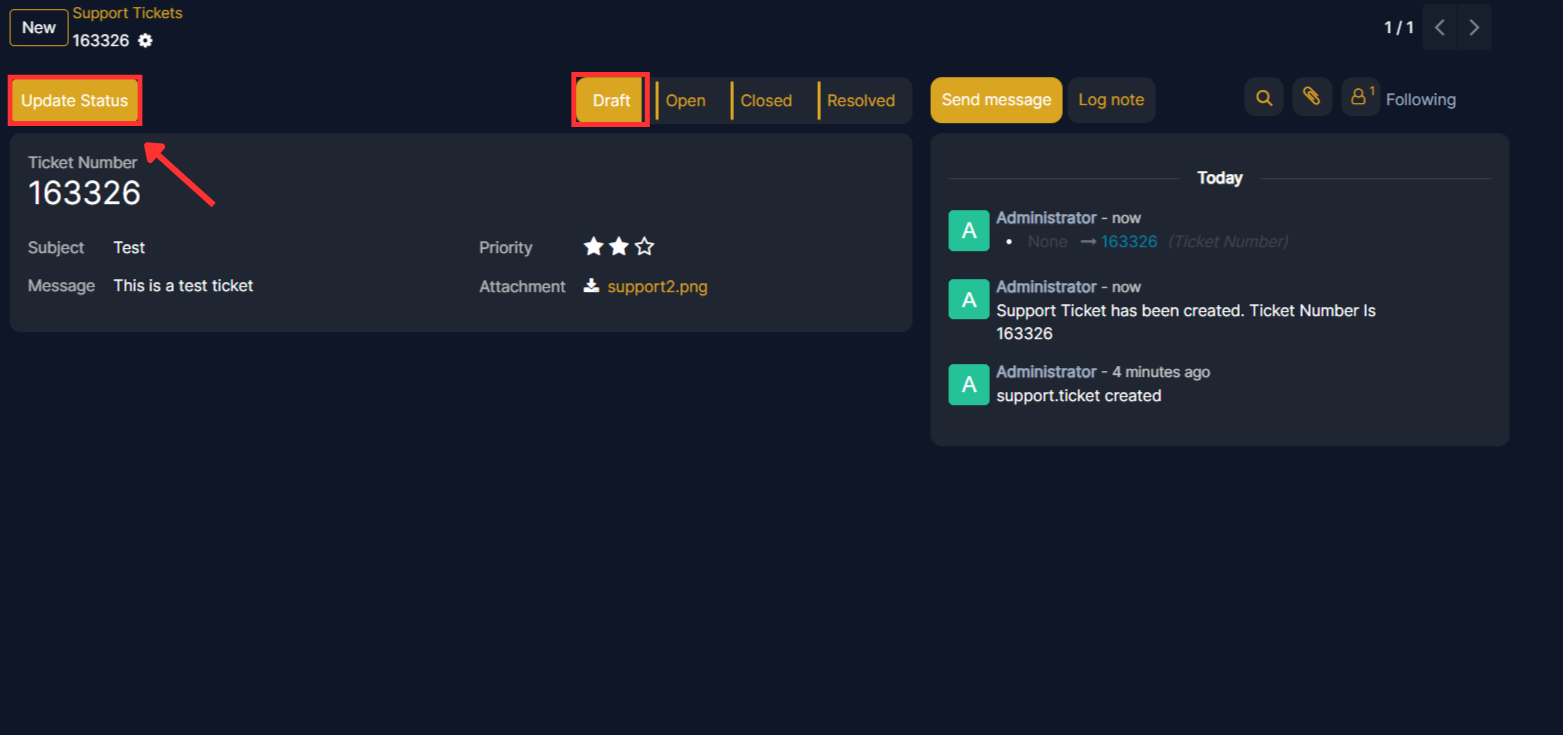
Once you click on the "Update Status" button, The ticket will be in "Open" state and our support team can be able to see that issue. And in open state you won't be able to perform any change in your ticket.

Once the issue is resolved, the support team will update the status to "Resolved". You will be able to see the resolved status within EDGERP.
When you will again go to the "Support" module of Edgerp then you can see that all your tickets are listed with the Message, Priority and Status for a better readability and you can also search for any particular ticket on the top search bar at your page.
